


First you will need:
A shirt (jacket, pants, dress) that fits your child well
Paper (either normal paper taped together, or a large roll)
Scissors ( not your fabric ones)
Pen

Optional:
Second pen
Tape
Okay so first you lay out your paper (or tape it together) so that it is big enough to lay the shirt on twice.
Fold the shirt in half so you are looking at the back. Line the side seams up as best you can. Lay it on the paper flat as you can.


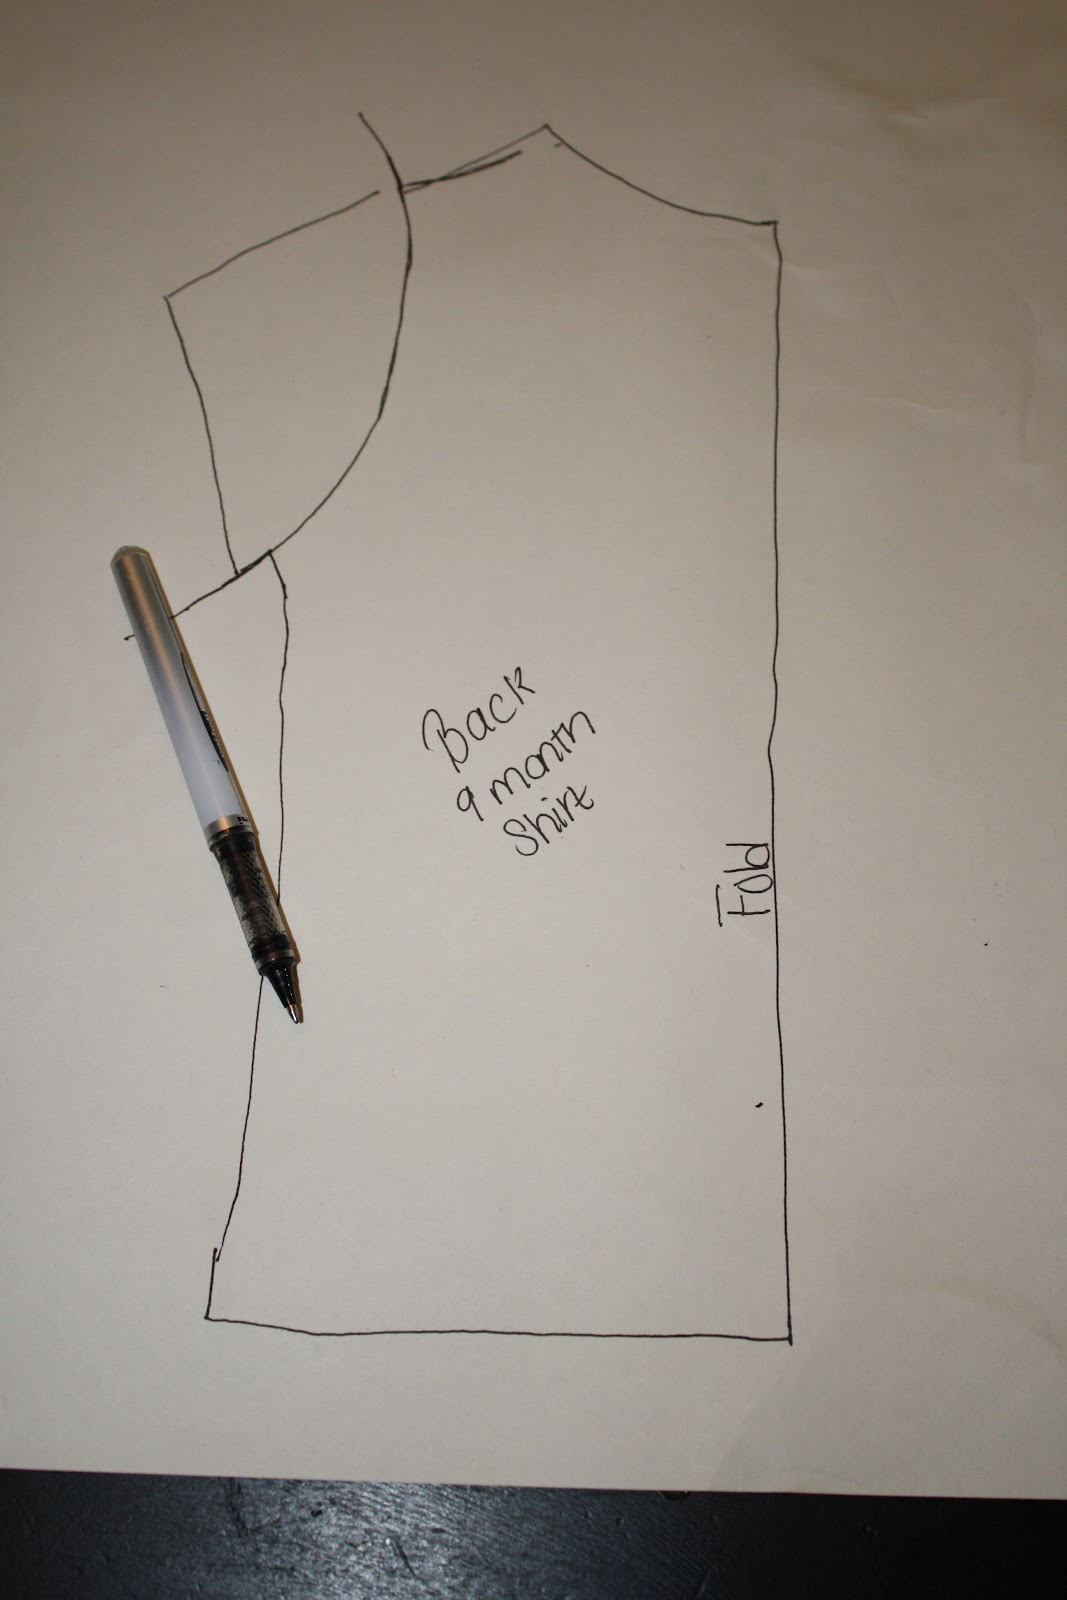
Trace the shirt. label it "back" and write fold on the side that was folded.

Turn and fold it so that you are looking at the front, again line the side seams up as best you can. But this time you need to tuck the neck area in so that the front neck scoop (collar area) is exposed. You will see that the neck raises higher on the back of the shirt then on the front. Trace the shirt, make sure you get a trace of the front neck not the back.


Now trace the sleeve in the same fashion you did both sides of the shirt. But just lay the shirt flat.
Now when you get to where the sleeve meets the body of the shirt draw a line out so you know where the seams meet. Do this at the top of the sleeve (shoulder) and the bottom of the sleeve (armpit). See the photo above.
Remove the shirt now that you are done tracing it and draw a curved line to connect the two seam lines you drew. Mimic the line of the sleeve seam that is on the shirt to the best of your ability. Label it and make sure to write fold on the top line, where the sleeve you traced was folded (the top of the arm)


Now you should have a front, back and sleeve drawn! Yay good job! So here you have two choices you can a) tape the second pen to your pen for an instant seam allowance or b) just cut your pattern a little wider then the lines you drew evenly all the way around.
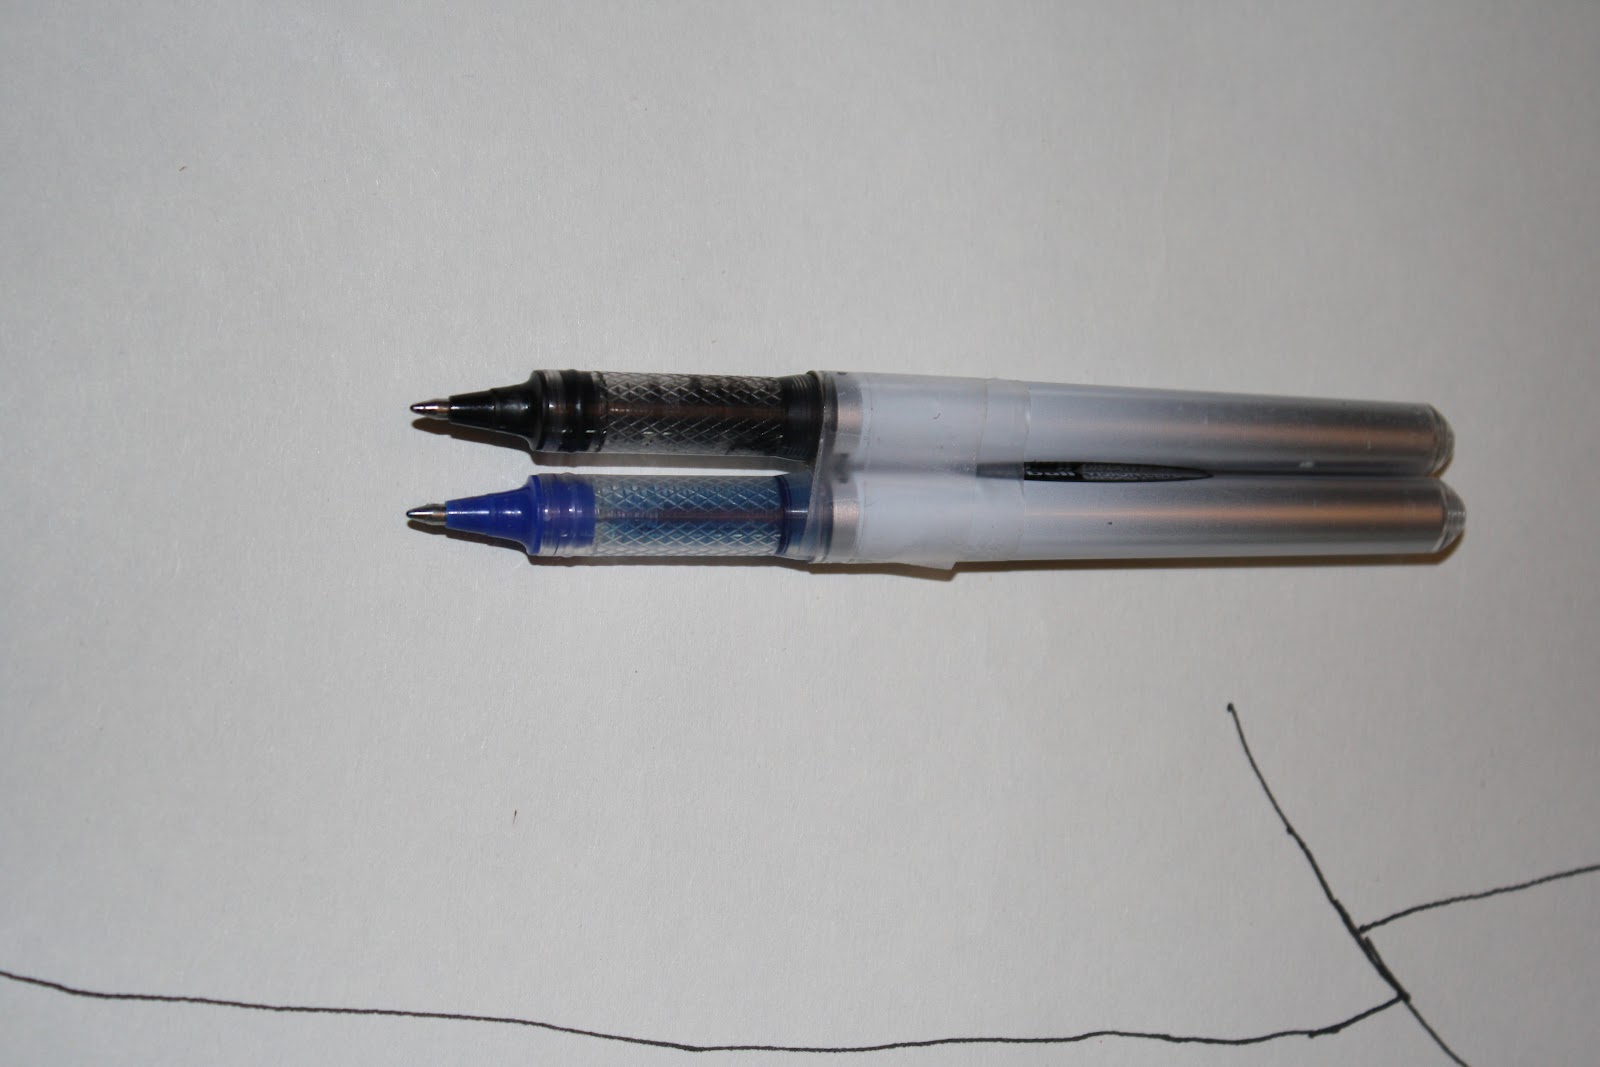
For this tutorial I did the two taped pens, but honestly I prefer to just cut a bit wide. I find that I don't sew my seam allowances that wide and my shirt always ends up bigger then I wanted. So do what you feel would work best for you. No need to add any type of seam allowance on the "fold" sides!

Now that you have your pieces cut. lay your original shirt on top to ensure you are on track! Now you have a basic shirt pattern! Since is it just a basic shirt you can use this as a starting point for dresses and numerous other types of shirts!
I'd just like to add that when using this pattern to make a new top keep in mind the fabric that the shirt you traced was made of. If it was a stretchy cotton, you will need to use a fabric with a little bit of give (stretch) for your new top. And if you'd like to use a quilters cotton, which has no stretch then you will need to add a few buttons, or snaps so if will go over your child's head!
Hope this helped you learn how to draft your own pattern from a piece of clothing you already own! Best of luck! If you have any questions feel free ask!
No comments:
Post a Comment